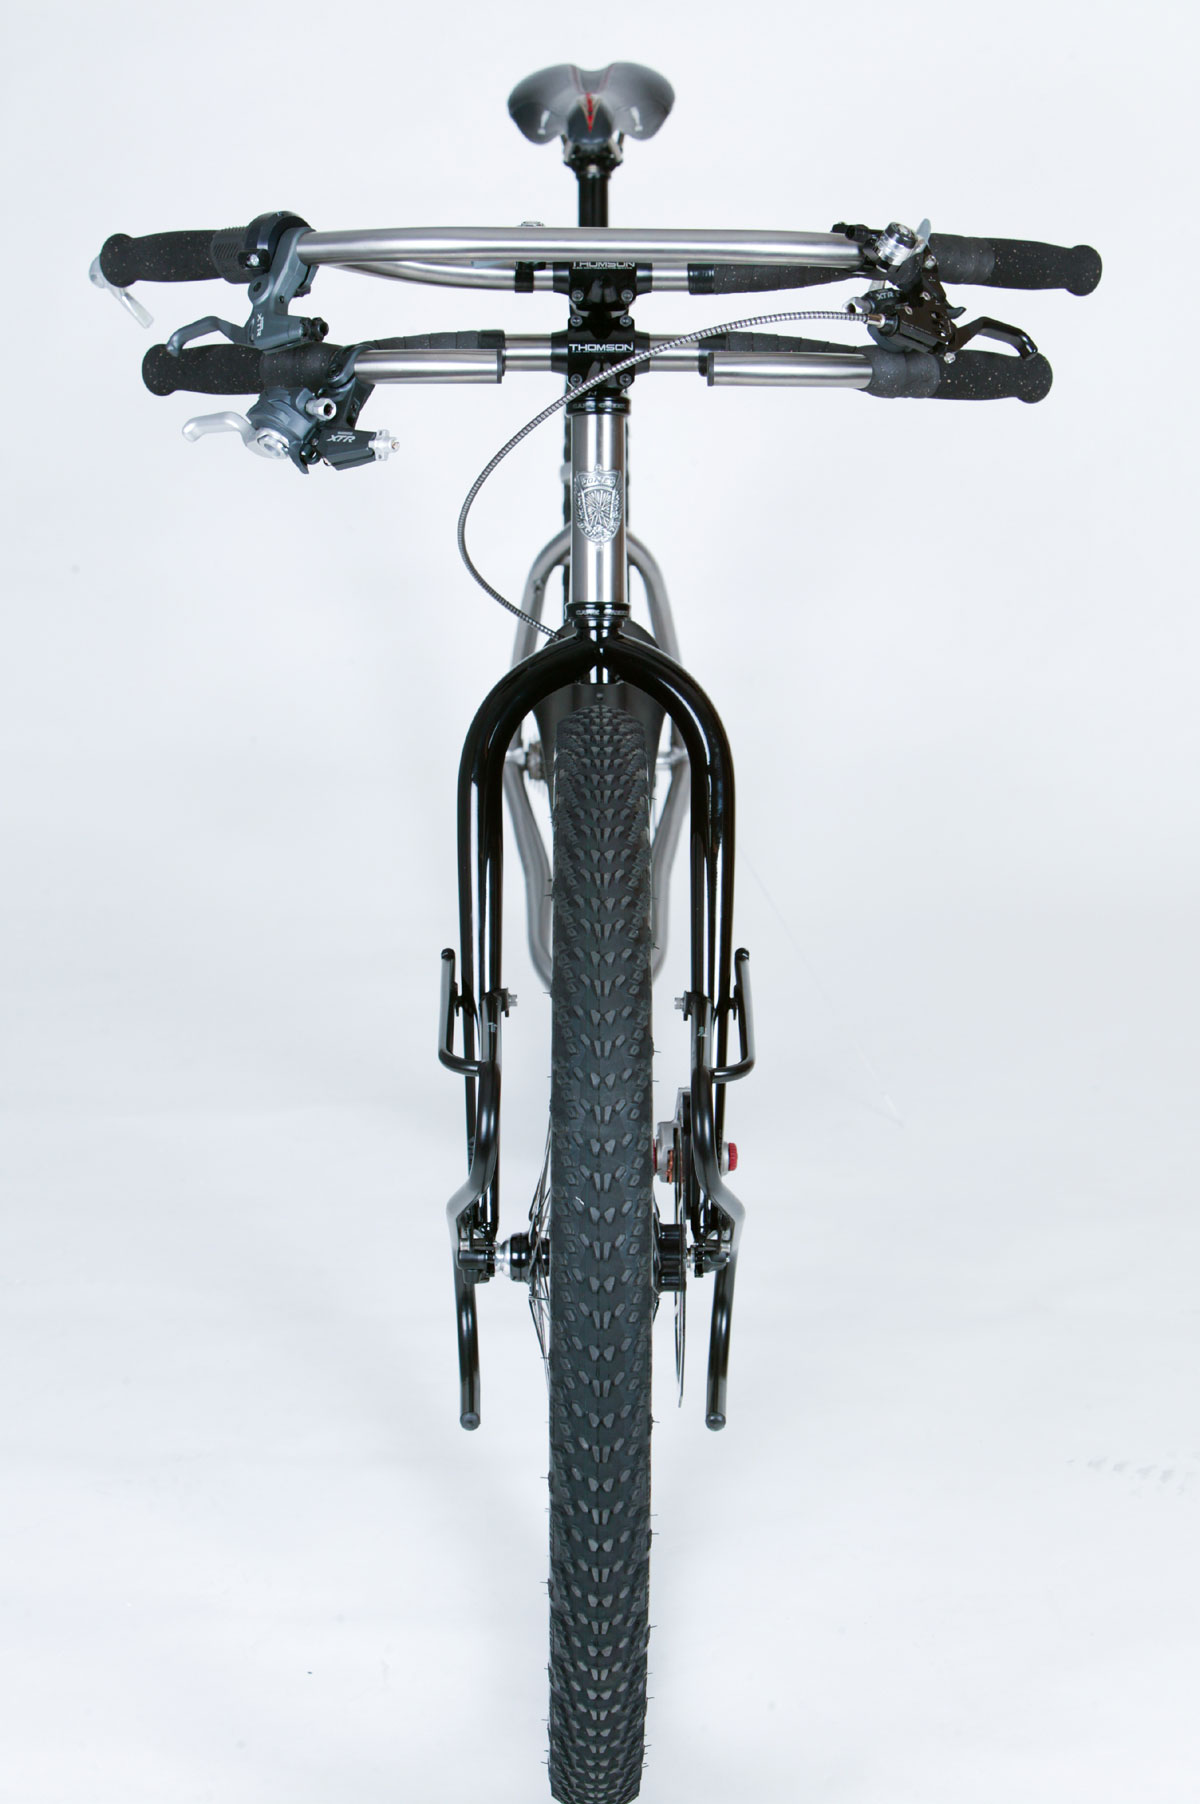
The bar on top is a Loop bar in the riser position and the lower bar is the Cut in the drop position. This shows the bar placement possibilities and different shifter options for the two different bars.
The rack is bolted to both sides of the fork making it very stiff and strong and without needing a brace over the wheel.
The picture is a little off center but you can see the widely and equally spaced hub flanges allowing for a super strong and stiff wheel.